**DirectX Raytracing, Tutorial 7**
**Antialising using jittered camera samples**
In [Tutorial 6](../Tutor6/tutorial06.md.html), we built a *`SimpleAccumulationPass`* that
allows averaging multiple frames in sequence to get high-quality, noise-free results. However,
this leaves numerous problems, including obvious aliasing along geometric edges.
In this tutorial, we add a simple antialiasing scheme by *_jittering_* the camera position
and using the *`SimpleAccumulationPass`* to average the jittered camera locations. While this
antialiasing scheme is quite simple, camera jitter is used in many more advanced schemes
including today's state-of-the-art [temporal antialiasing (TAA)](https://en.wikipedia.org/wiki/Temporal_anti-aliasing) techniques.
Our Antialised Rendering Pipeline
=================================================================================
If you open up *`Tutor07-SimpleAntialiasing.cpp`*, you will find our new pipeline combines a new
*`JitteredGBufferPass`*, the *`AmbientOcclusionPass`* from [Tutorial 5](../Tutor5/tutorial05.md.html),
and the new *`SimpleAccumulationPass`* from [Tutorial 6](../Tutor6/tutorial06.md.html).
~~~~~~~~~~~~~~~~~~~~ C
// Create our rendering pipeline
RenderingPipeline *pipeline = new RenderingPipeline();
pipeline->setPass(0, JitteredGBufferPass::create());
pipeline->setPass(1, AmbientOcclusionPass::create());
pipeline->setPass(2,
SimpleAccumulationPass::create(ResourceManager::kOutputChannel));
~~~~~~~~~~~~~~~~~~~~
This *`JitteredGBufferPass`* builds on the *`SimpleGBufferPass`* from [Tutorial 3](../Tutor3/tutorial03.md.html) but
computes a per-frame camera jitter. You can think of this jitter as moving the center of each pixel slightly every frame,
by +/- 0.5 pixel in any direction.
The compilable tutorial code provides two different ways of selecting this jitter: using
a set of discrete samples (the positions used for [8x MSAA](https://en.wikipedia.org/wiki/Multisample_anti-aliasing)) or
using a randomly selected offset each frame. Both techniques work identically, the only change is how the offset in [-0.5..+0.5]
is computed. The discussion below only walks through the random jitter.
Setting up Our Jittered Camera Pass
=================================================================================
Continue by looking in *`JitteredGBufferPass.h`*, which should look similar to *`SimpleGBufferPass.h`*
from [Tutorial 3](../Tutor3/tutorial03.md.html).
Key changes are a number of new variables related to random number selection:
~~~~~~~~~~~~~~~~~~~~C
bool mUseJitter = true;
std::uniform_real_distribution mRngDist;
std::mt19937 mRng;
~~~~~~~~~~~~~~~~~~~~
*`mUseJitter`* is a user-controllable variable in the GUI that allows toggling camera jitter. *`mRng`* and *`mRngDist`*
are random number generators from the C++ standard library. It turns out the default initialization for *`mRngDist`*
is exactly what we want. We initialize *`mRng`* in *`JitteredGBufferPass::initialize`* by seeding it with the
current time (which we also get from the C++ standard library).
~~~~~~~~~~~~~~~~~~~~C
bool JitteredGBufferPass::initialize(RenderContext::SharedPtr pRenderContext,
ResourceManager::SharedPtr pResManager)
{
...
auto now = std::chrono::high_resolution_clock::now();
auto msTime = std::chrono::time_point_cast(now);
mRng = std::mt19937( uint32_t(msTime.time_since_epoch().count()) );
...
}
~~~~~~~~~~~~~~~~~~~~
Rendering With a Jittered Camera Pass
=================================================================================
Now that we have set up our random number generator, we can add camera jitter in a
very straightforward way during our *`JitteredGBufferPass::execute()`*, which is
a direct copy of the *`SimpleGBufferPass`* except the following additional lines:
~~~~~~~~~~~~~~~~~~~~ C
void JitteredGBufferPass::execute(RenderContext::SharedPtr pRenderContext)
{
...
if (mUseJitter && mpScene && mpScene->getActiveCamera()) {
uint2 screenSz = mpResManger->getScreenSize();
float xJitter = (mRngDist(mRng) - 0.5f) / float(screenSz.x);
float yJitter = (mRngDist(mRng) - 0.5f) / float(screenSz.y);
mpScene->getActiveCamera()->setJitter( xJitter, yJitter );
}
...
}
~~~~~~~~~~~~~~~~~~~~
The *`if`* is protection against undefined results, since we can't jitter the camera if we don't
have a valid scene or camera.
We then get a random number. *`mRngDist(mRng)`* returns a random value between 0 and 1. We offset
that to get a random value between -0.5 and +0.5.
Falcor's camera system already has a built-in method for camera jittering, but it requires the
jitter to be relative to the entire screen, rather than an individual pixel, so we need
to divide by the screen resolution prior to calling *`setJitter()`*.
Interestingly, adding camera jitter requires no changes to our shader code, so at this point we are done.
What Does it Look Like?
===============================================================================
That covers the important points of this tutorial. When running, you get the following result:
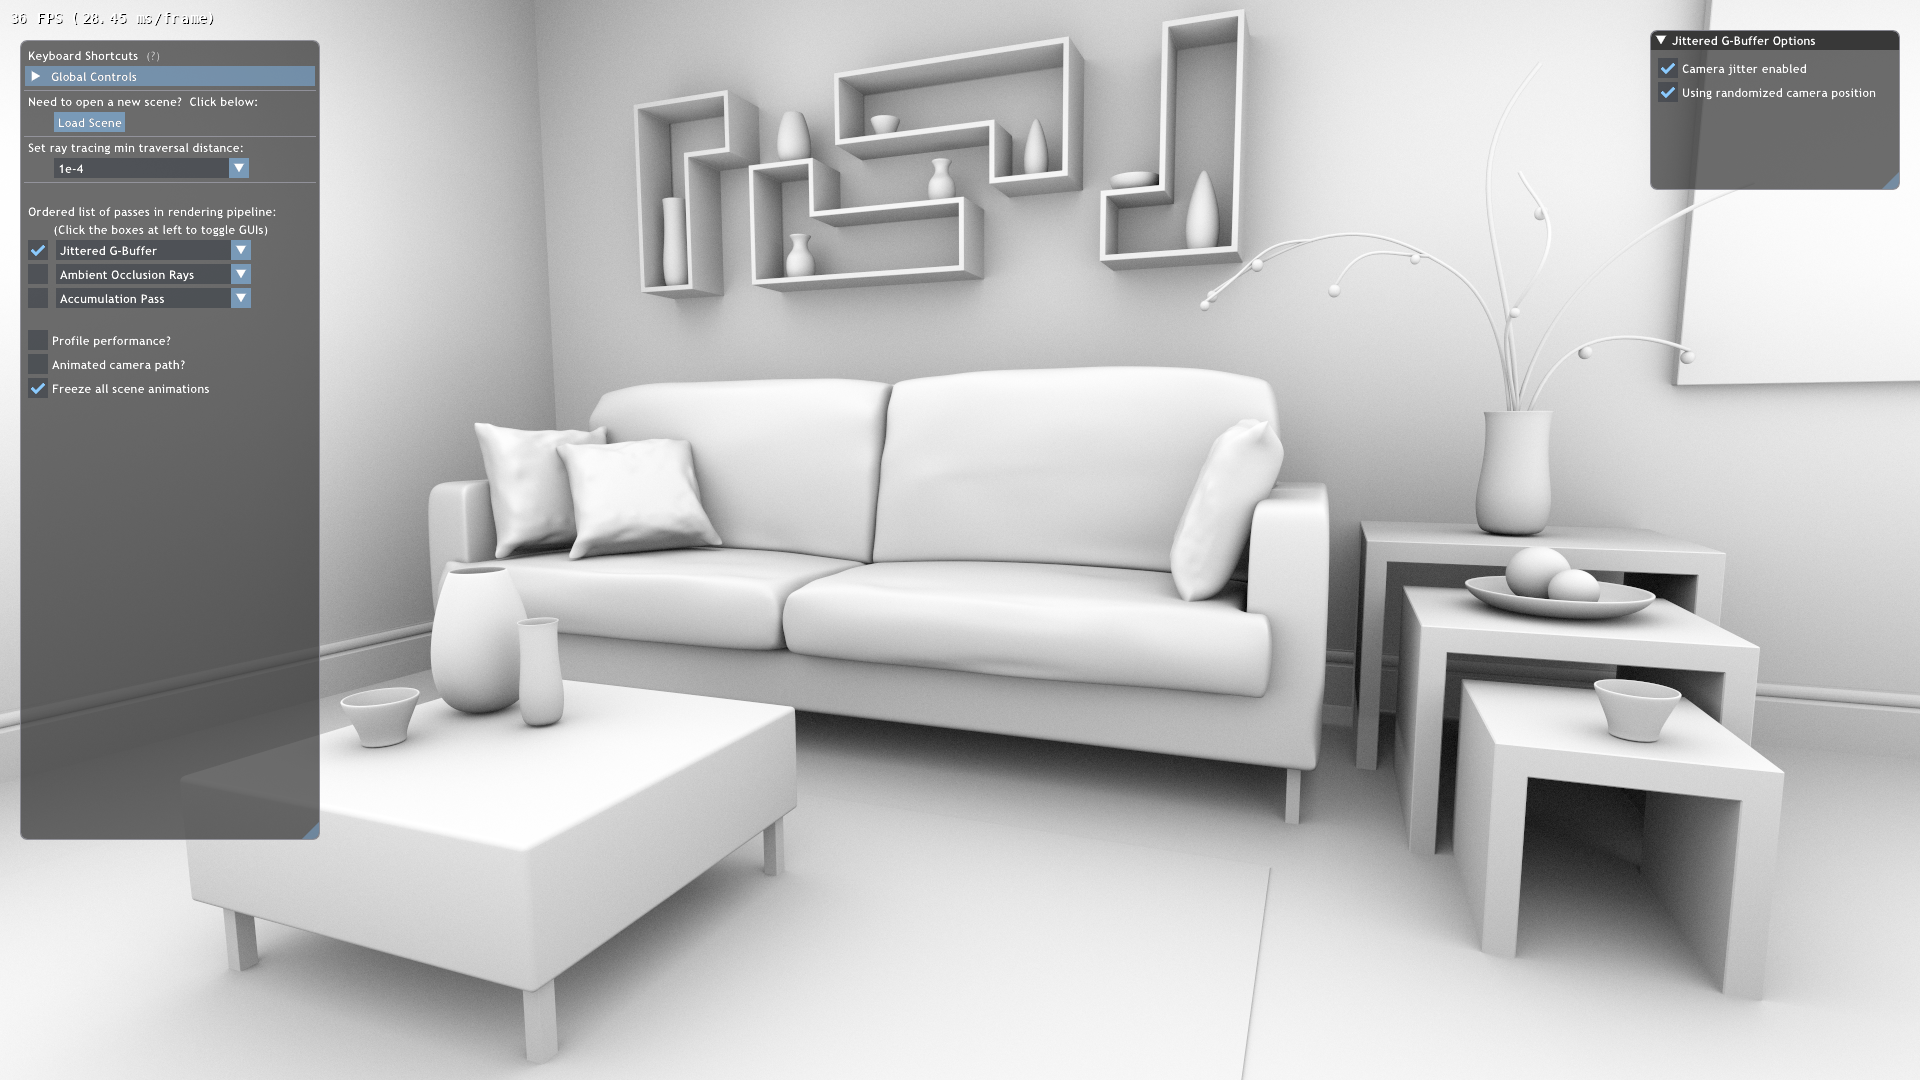
Hopefully, this tutorial demonstrated how to add randomized jitter to the camera to achieve simple
antialiasing when combined with temporal accumulation.
When you are ready, continue on to [Tutorial 8](../Tutor8/tutorial08.md.html), which uses a [thin lens camera model](https://en.wikipedia.org/wiki/Thin_lens)
rather than the [pinhole camera model](https://en.wikipedia.org/wiki/Pinhole_camera_model) usually used in interactive computer graphics. Using a thin lens camera
allows us to generate dynamic [depth of field](https://en.wikipedia.org/wiki/Depth_of_field).